
This is a complete tutorial about how to create a new cPanel account using WHM (Web Host Manager). It could be strenuous to handle the webserver for the first time. Typically, the first step towards successful WHM management of the best cPanel hosting UK is creating a cPanel account.
The Domain Name Will Be Required
One of the primary prerequisites is to have a domain name linked to your hosting. You must use a temporary domain name if you do not have one at this stage.
What Would Be The Starting Point?
Logging in to the WHM manager is the first and foremost step. The ‘Account Management Panel’, abbreviated as AMP, can help you reach your WHM. You have to log in as either of two roles. You should be a reseller administrator or root administrator. After successful login, two methods allow you to navigate the interface where you create the account.
- Look at the upper left-hand corner. A find bar will be there to help you out. Locate the ‘create new account’ option in the bar, and click it.
- Find and hit the button that says ‘Account Functions’. Then click the ‘create a new account’ option.
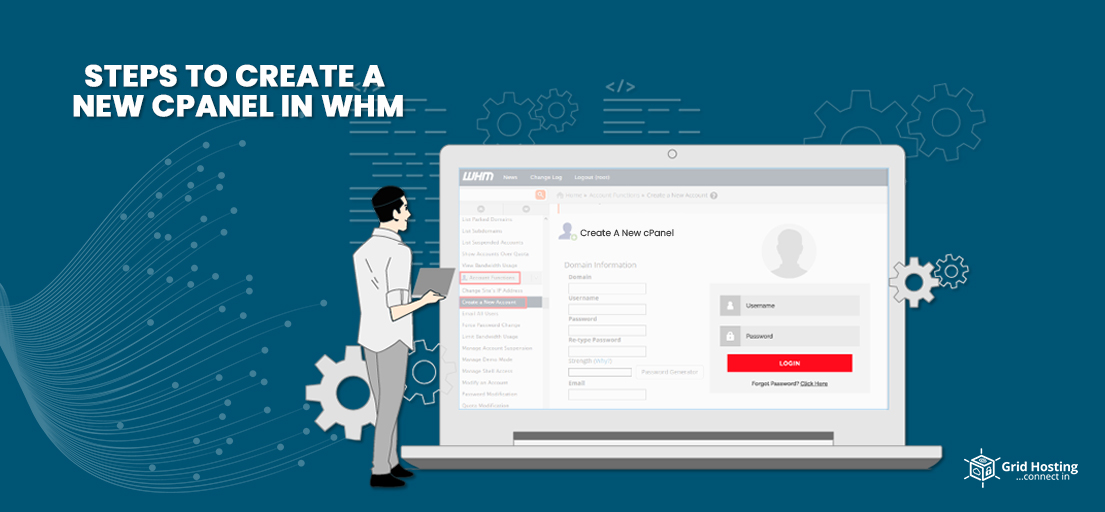
Input The Domain Information
The first dialogue box will ask you about the domain. Tell the cPanel about the website’s domain name that you want to associate this particular cPanel account with.
WHM will automatically make that domain name the username of the account. Then you will be providing the password. You may use any online tool to generate it. The WHM will also show you the strength of the password you pick. Kindly keep updating it until it declares the password as strong.
What Package Do You Want?
The next major decision is the selection of the package. Decide your account package. But, wait. What is the package? You can think of different cPanel packages as the bundled configuration settings.
If you want multiple accounts to have the same settings, you can apply one package to all of them. If you edit one thing in the package, it will apply to all the accounts that use the same package.
However, you would not have any configured package if you are new. Just check the second option that says ‘Select Option Manually’. That will show you a range of regular options you can select as a package.
All the packages limit any aspect of hosting. Let’s list down the number and the factor they set limits on.
Package 1: Disk Space
Package 2: Bandwidth
Package 3: Number of FTP & Email Accounts
Package 4: Number of FTP & Email Accounts
Package 5: Mailing Lists
Package 6: MySQL Databases
Package 7: Sub-domains
Package 8: Parked Domains
Package 9: Addon Domains
Package 10: Number of emails sent by a domain per hour
Tell WHM About Your Desired Settings
Now comes the stage of making the settings you want. The setting dialogue box will show you six different items. Let us discuss them one by one.
- The first is Dedicated IP. Checking or unchecking it determines if the main shared IP address of the server hosts the account or not.
- The second is Shell Access. Again, you may enable or disable it.
- The third is FrontPage Extensions. Leaving it unchecked is better since Micorosft has stopped supporting it years ago.
- The fourth is CGI Access. Enable it if you want to use CGI scripts for serving pages.
- The fifth option is the cPanel theme. Please enable it and pick the cPanel theme you want to see every time you log in.
- The sixth option is about language. Hopefully, it needs no explanation.
Configure The Reseller Settings
The only function of this setting is to make the cPanel account reseller. So do not think it is an all in all of the reseller setting.
Configure The DNS Settings
They are only applicable if the server hosts DNS for the account we will make. Number one and number two are DKIM and SPF. These are spam prevention measures that need particular DNS entries to work.
Checking these options would be excellent. However, they won’t be applicable if you use both server and DNS to host the email for this account. The third setting allows you to declare which nameservers will be set for the domain.
Uncheck the box if the default nameservers already configured for this server are your priority. But if you check it, WHM will start a DNS lookup. It will perform this on the domain and apply the nameservers configured at the DNS registrar.
The fourth setting overwrites some DNS zone files. They are also the files of the same domain, and at any point in the past, they were stored on the server.
Configure The Mail Routing Settings
One striking difference between the previous and mail routing settings is that they will let you choose only one of the four options. The first one, ‘Automatically Detect Configuration’, is the first on the list, and it also is the default setting.
Selecting it will allow the mail server to use the current DNS setting for the configuration. Checking this is not recommended if you plan is using the same server to host the email.
Do you want to use this account for the domain’s email? Then, you should check the second option. Check the ‘Local Mail Exchanger’.
Do you have more than one server? In this case, the third option, ‘Backup Mail Exchanger,’ is the one you should check. You may have some other account or any other server in mind. This cPanel account could serve as a backup for that account.
The last option is a remote mail exchanger. Check it, and the mail server will know it must forward any mail for the domain that comes its way to the correct mail server. Check this option only and only if this server is never going to host email for this domain.
Only Task Left Is Pressing The Button
Yes, just hit the create button. Congratulations! You have accomplished the task. Now, just sit down and relax, as the server will take some time.
The Final Verdict
Hopefully, cPanel account creation using WHM is not a big deal for you now. However, if you are looking for cPanel hosting, give us a call at Grid Hosting. We just offer all you need to set up cPanel hosting at attractive prices.
For Special Discount and Offer visit our official Facebook Page